
After your inspection, you'll want to publish the report.
The report will be backed up in the cloud; you can always go back to that inspection and view the report online.
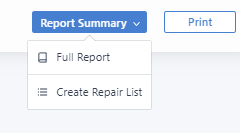
There are three report view modes:
Full Report
Report Summary
Create Repair List
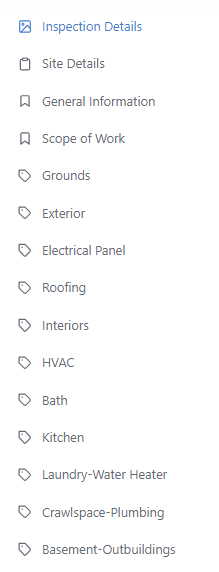
The Full Report will show the integrity of your inspection. It contains the cover image, the inspection details, the site details, and the scope of work, the general information, and the narratives and conditions in the order specified by the used template:
However, the Full Report will not let you tweak the printed report in any form. The report will contain every piece of information you entered into your inspection.
That's where the Report Summary and the Create Repair List come in!
You can switch between these views using the blue button at the top right corner of the screen:
The Report Summary will group areas of interest, based on the conditions of the narratives added during the inspection.
These conditions will be available on the left side of the screen:
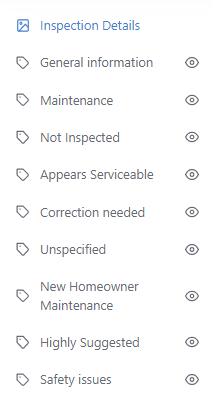
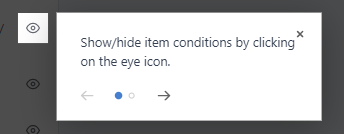
You can use the eye icon to show or hide the narratives bound to the condition in the report. This gives you the option to reduce your report to some specific conditions, like "Safety issues", for example.
The Report Summary doesn't include the Site Details, Scope of Work, General Information, or the Cover Image. It will display only the narratives and their conditions.
Once you think your Report Summary is ready for printing, click on the "Print" option at the top right corner:
There, you can choose to save a PDF copy of the modified Report Summary instead.
Remember:
Any changes made to the Report Summary and the Repair List won't be saved!
If you refresh the page, all the modifications will be gone and the original report will be shown. Make sure you print or save your desired changes!
If you have any questions, please feel free to reach out to [email protected]