
Narratives are bound to conditions. The selected template usually defines them, and they may not be the same from one to another.
Conditions are used to group similar types of narratives in your report. This can be especially useful for a report summary, as you can group all narratives with the "needing service" condition together, for example.
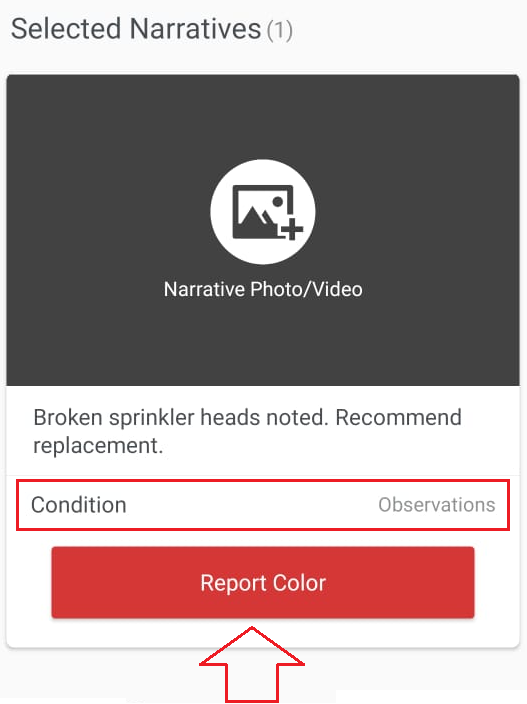
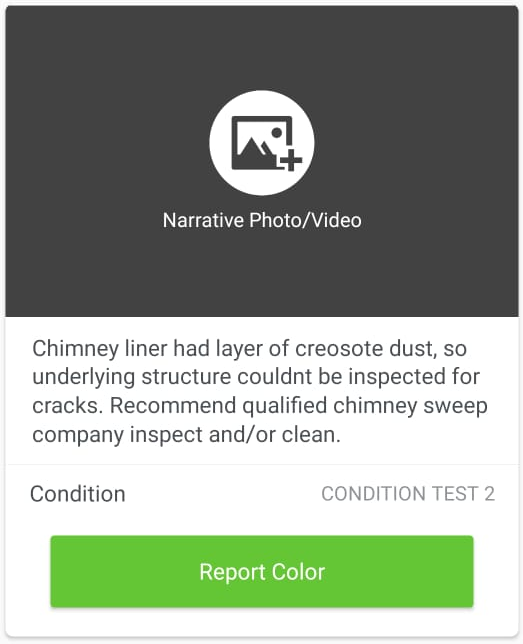
Once you've selected a narrative, you'll see the bound condition and its corresponding color code:
If you tap on the Condition, you'll see the list of available options:
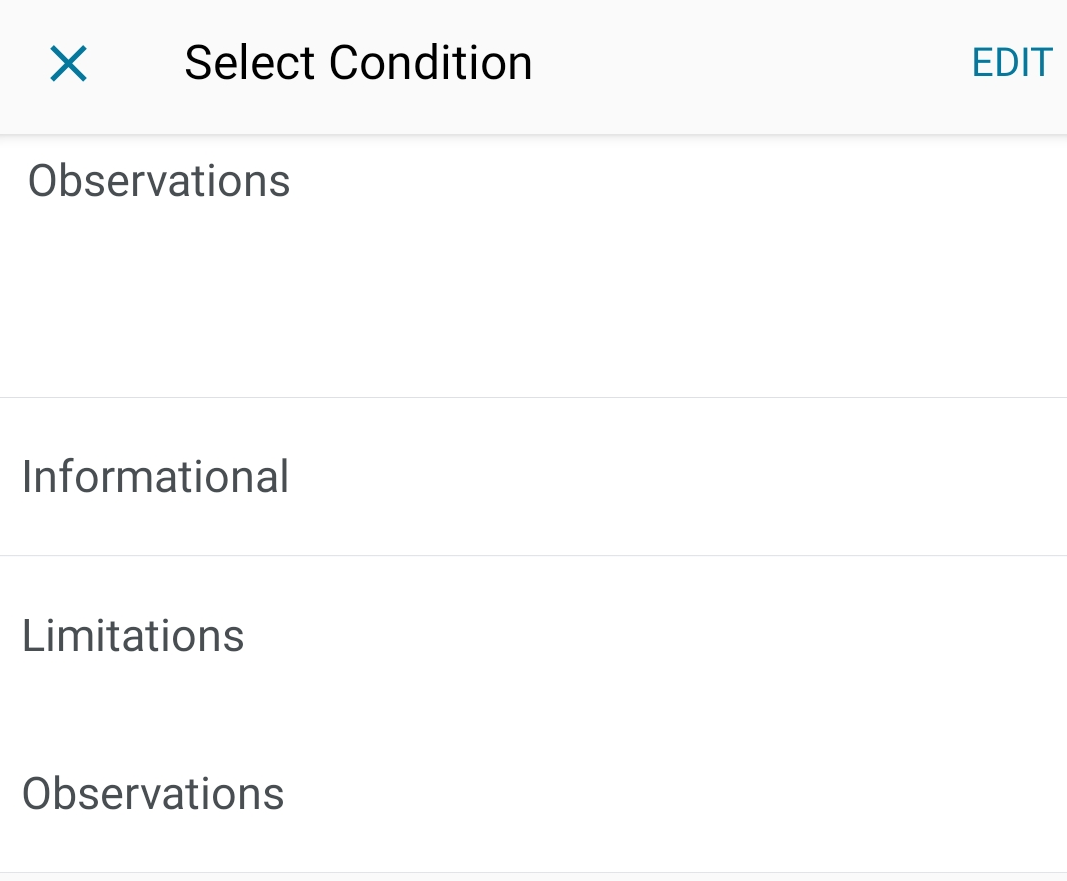
You can select one of the conditions in the list, or create a new one!
Let's create a new condition from scratch.
Whenever we create new conditions, these will be available from all of the other categories in the current template. We can say that these changes are reflected globally throughout the template.
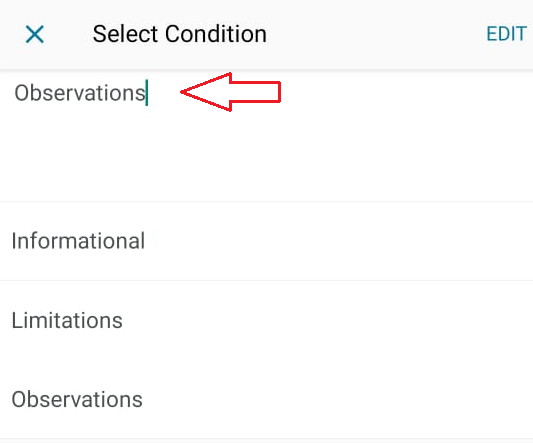
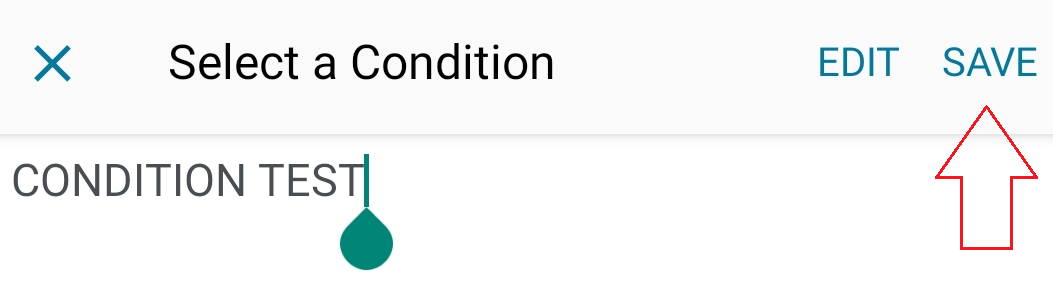
Tap on the already selected condition at the top of the screen. This will make the cursor available so we can type a new condition.
In order to create a new condition, we must delete the previously selected one (Observations in this example) and type a new one. In this case, I selected "CONDITION TEST":
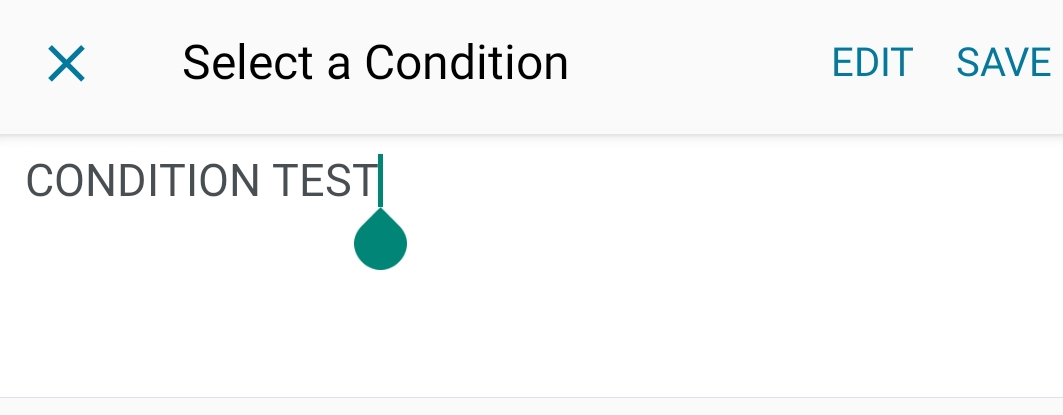
Then tap on "SAVE":
The new condition will now be bound to the selected narrative:
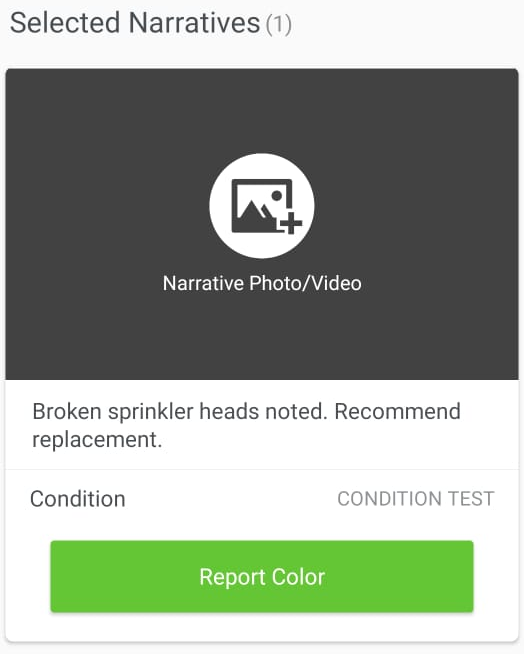
Remember: This condition will now be the default one for the selected narrative on all inspections using the current template.
Let's edit the condition!
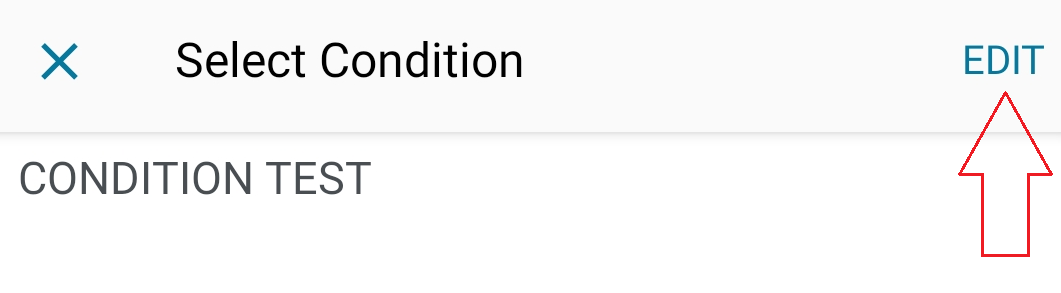
Tap on the condition again:
At the top right corner, tap on "EDIT":
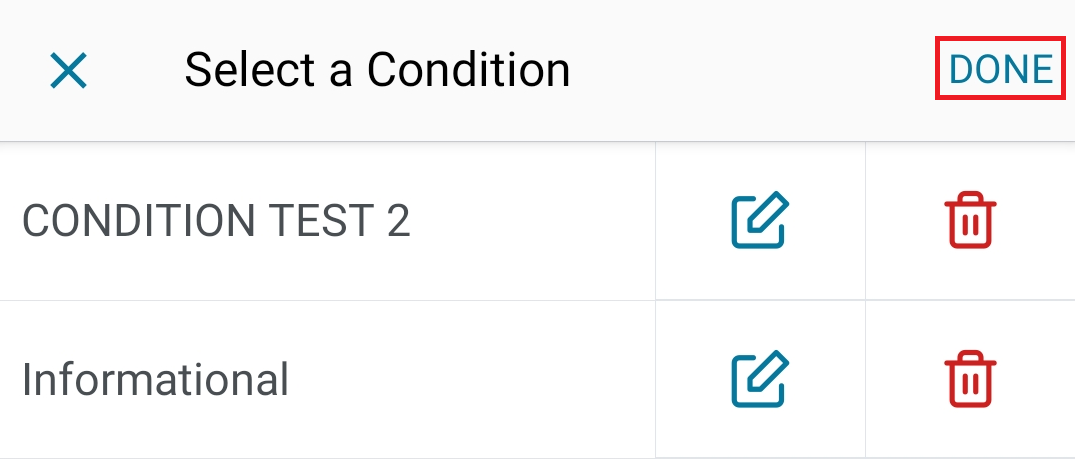
On this screen, you can select the condition you want to edit, or you can remove one using the delete icon:
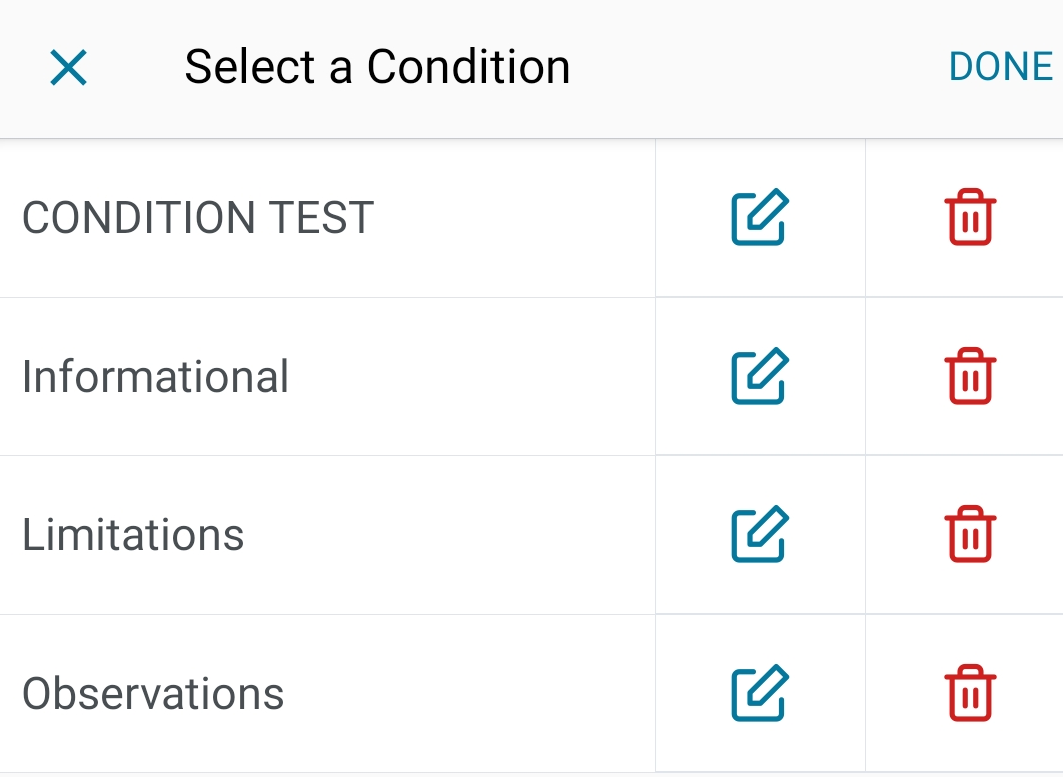
Tap on the edit icon next to the condition you want to modify:

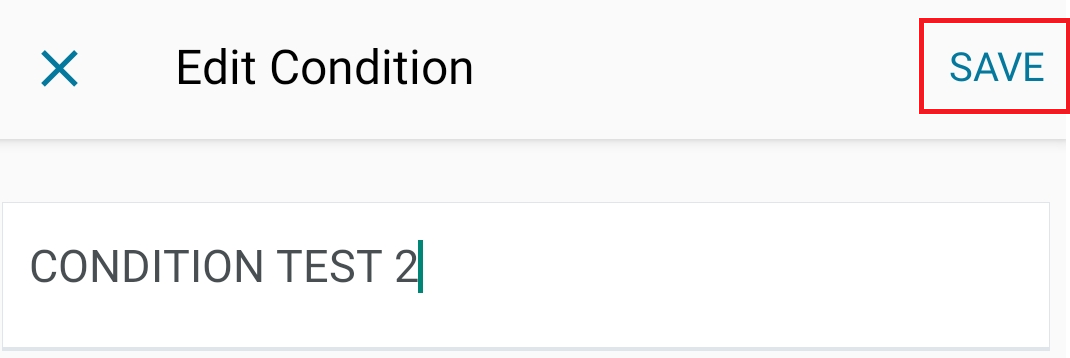
You can now edit the name of the condition:
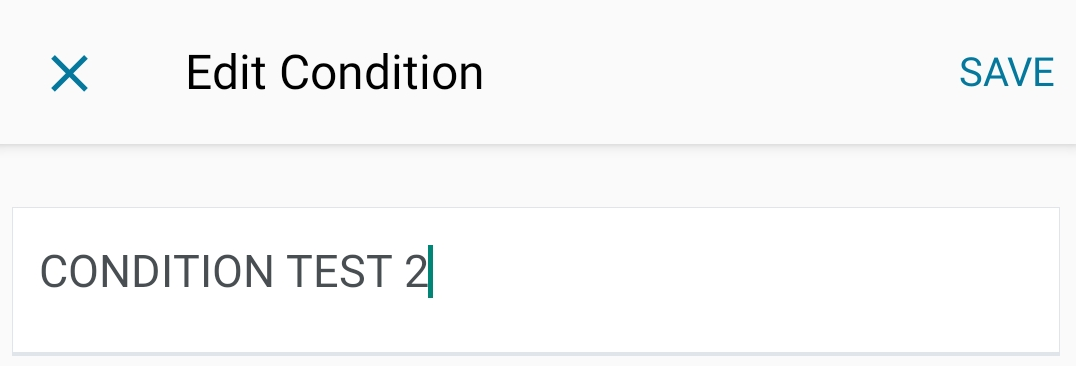
Then tap on "SAVE" at the top right corner of the screen:
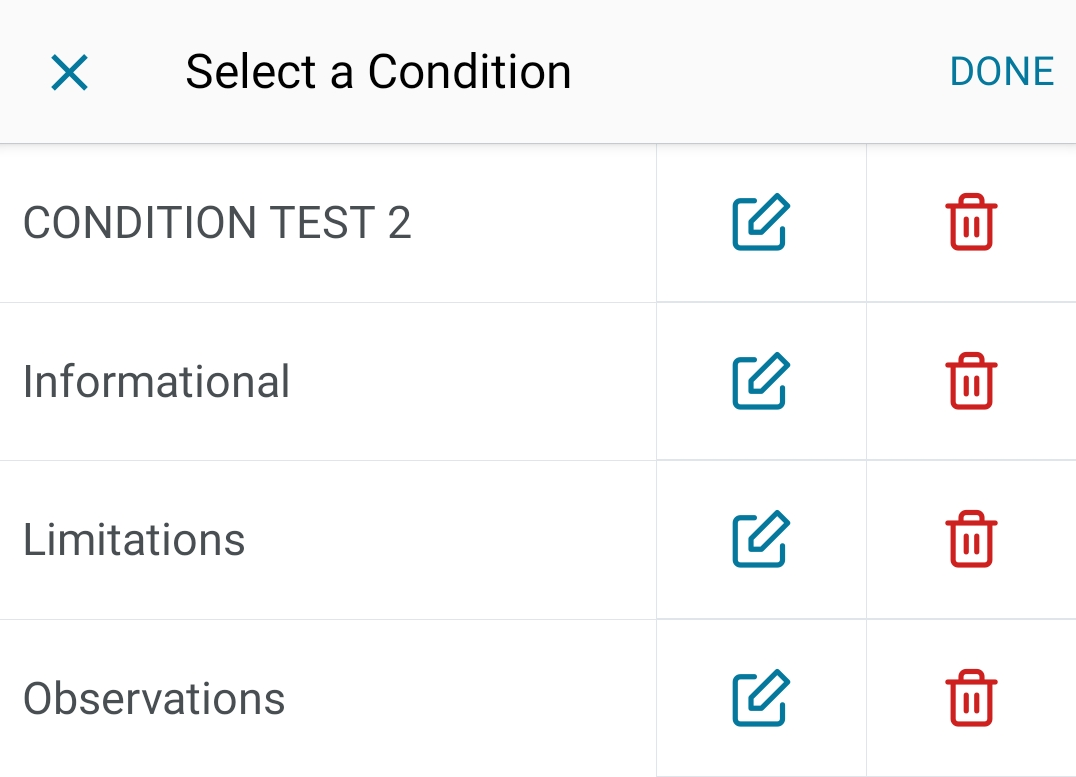
You will be back on the edit screen:
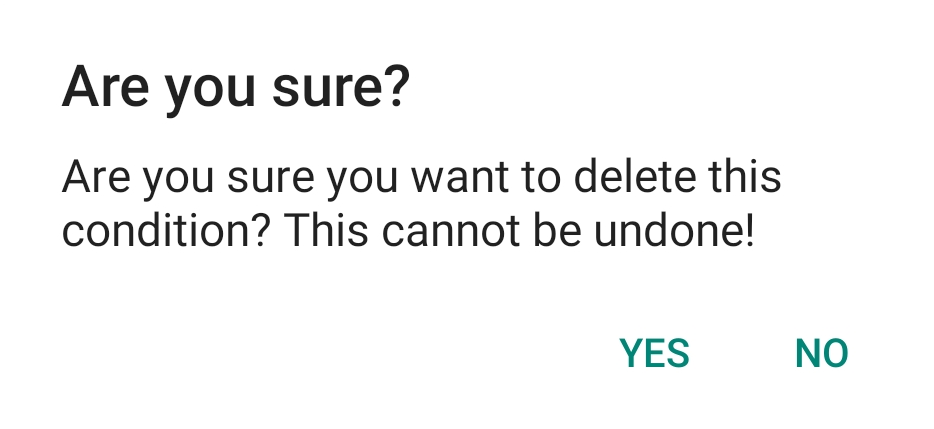
If you tap on the delete icon next to one of the conditions, you will get a confirmation prompt. Select "YES" to confirm:
Tap on "DONE" at the top right corner of the screen:
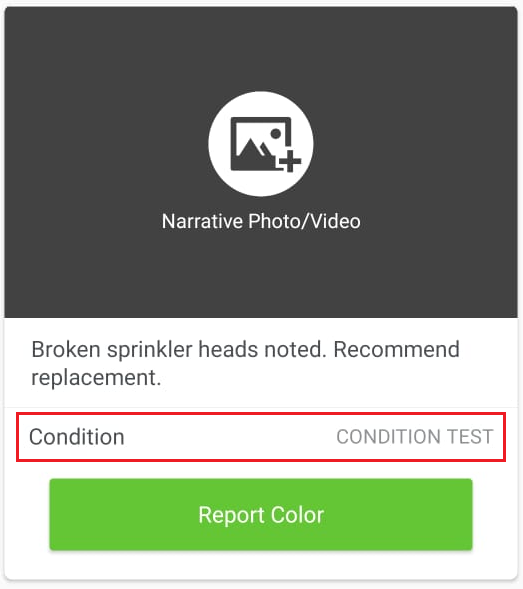
Finally, if you want to change the color code to the condition you just added/modified, just tap on "REPORT COLOR":
You will be asked to confirm the color change:
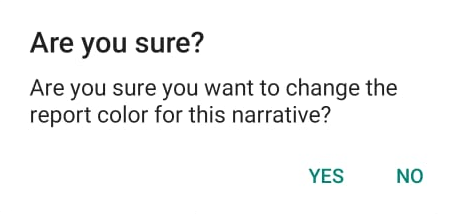
Select "YES".
Now you can toggle between the available colors.
You are all done!
If you have any questions, please feel free to reach out to [email protected]