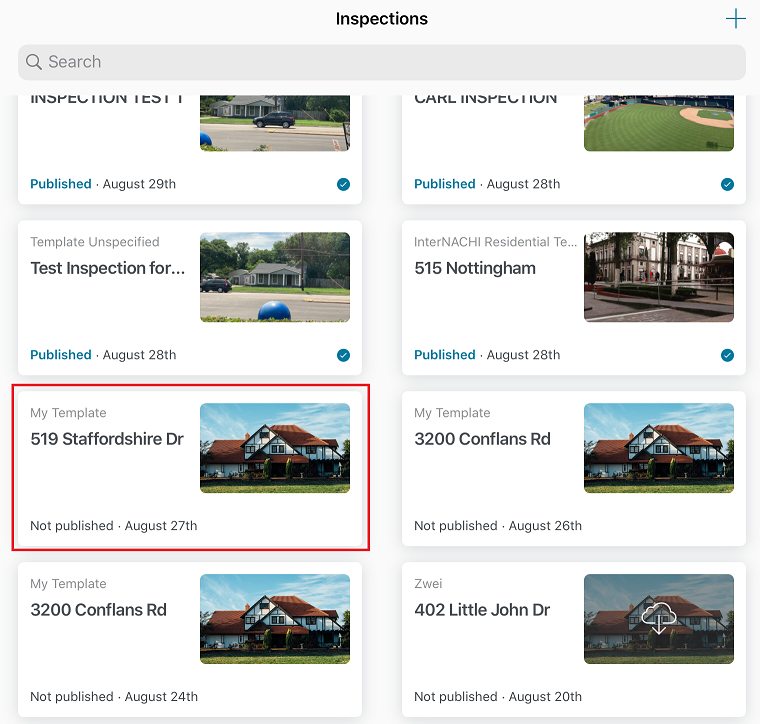
Once an inspection has been booked, you’ll see it listed in the Inspector Nexus mobile app on the inspections page.
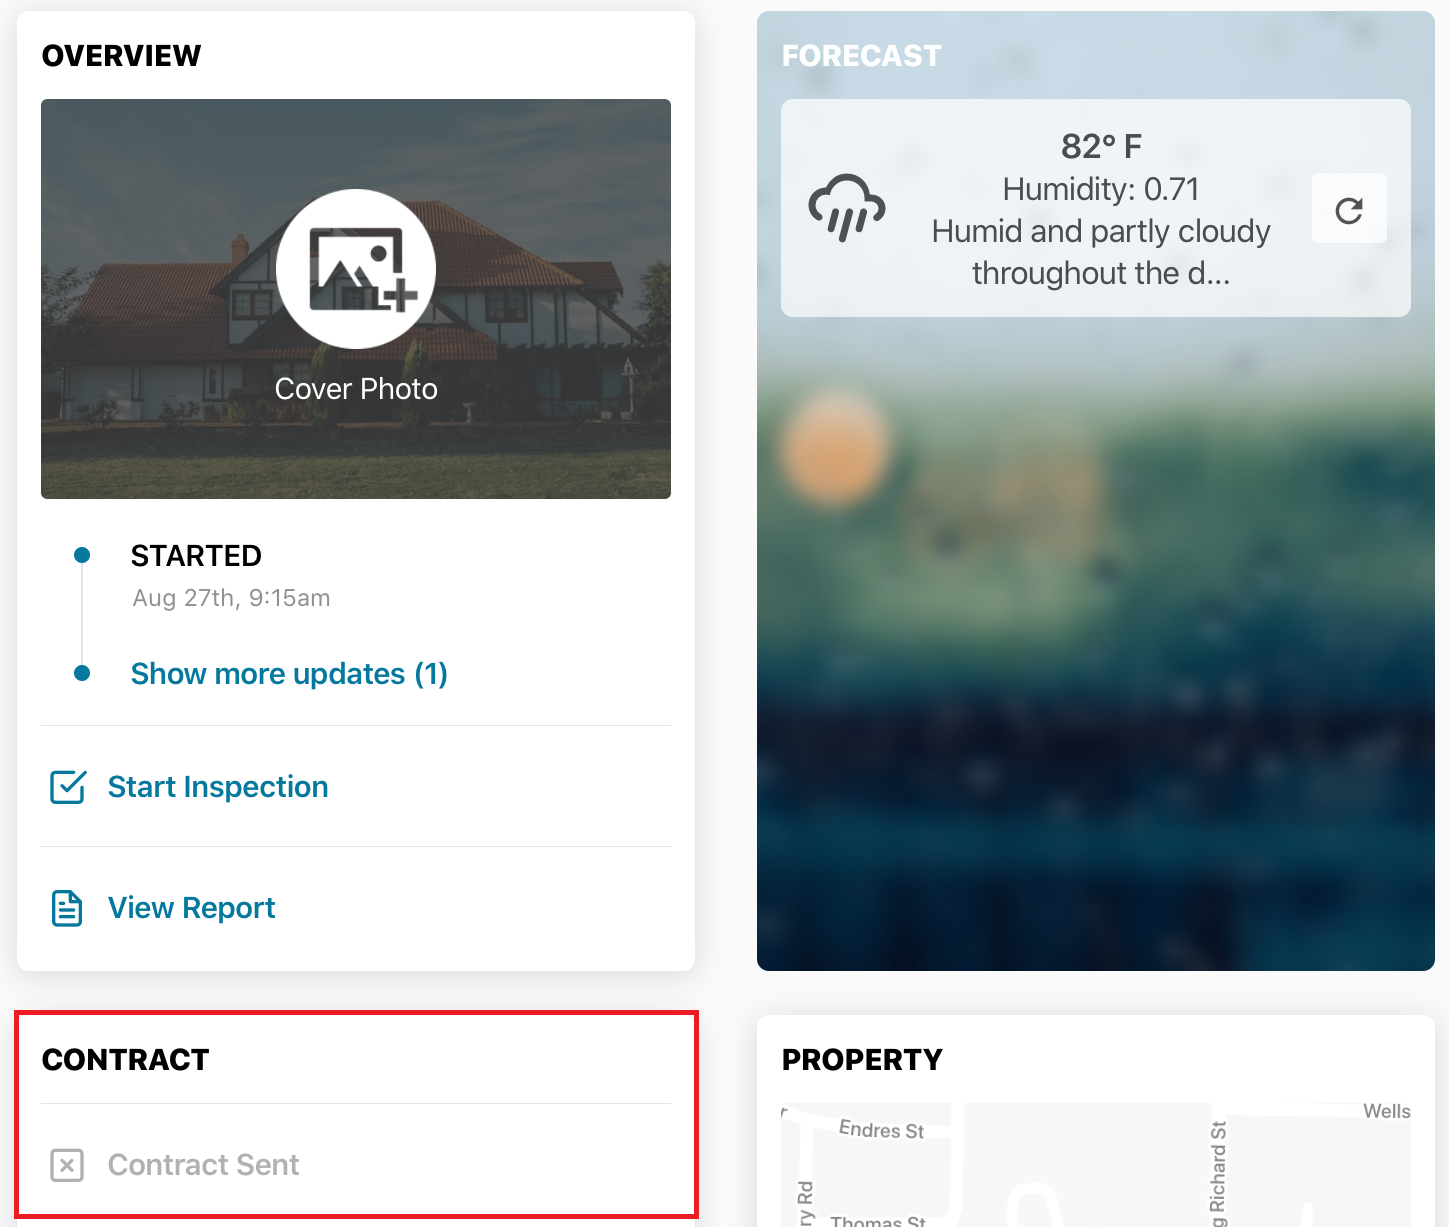
To send the inspection contract, first tap on your inspection to bring up a more detailed overview of the order.
Then, scroll down past the overview and weather forecasting section. You'll see the "CONTRACT" section, with the "Contract Sent" option greyed- out. This means the contract has not been sent yet:
Tap on "Contract Sent".
You will be asked to either send it or edit it:
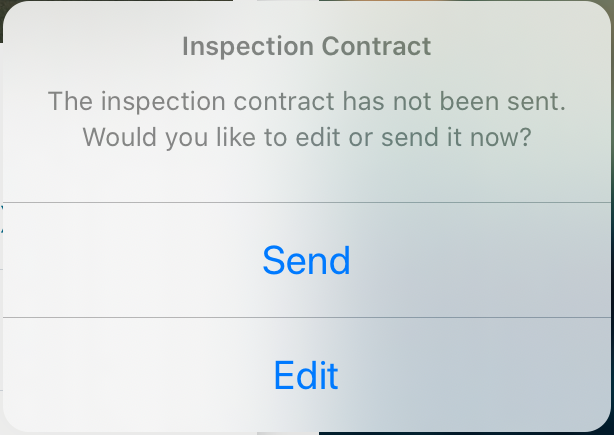
The "Edit" option will take you to the Inspector Nexus web dashboard, where you can edit the contract text.
Click here for more information on how to edit the contract text..
To continue, tap "Send". You'll be taken to a new page where you'll be able to select recipients. You can select from a list of contacts associated with the inspection, such as the client, agents, or inspectors, or you can add separate email addresses directly.

After you've selected the recipients, tap next at the top right corner of the screen.
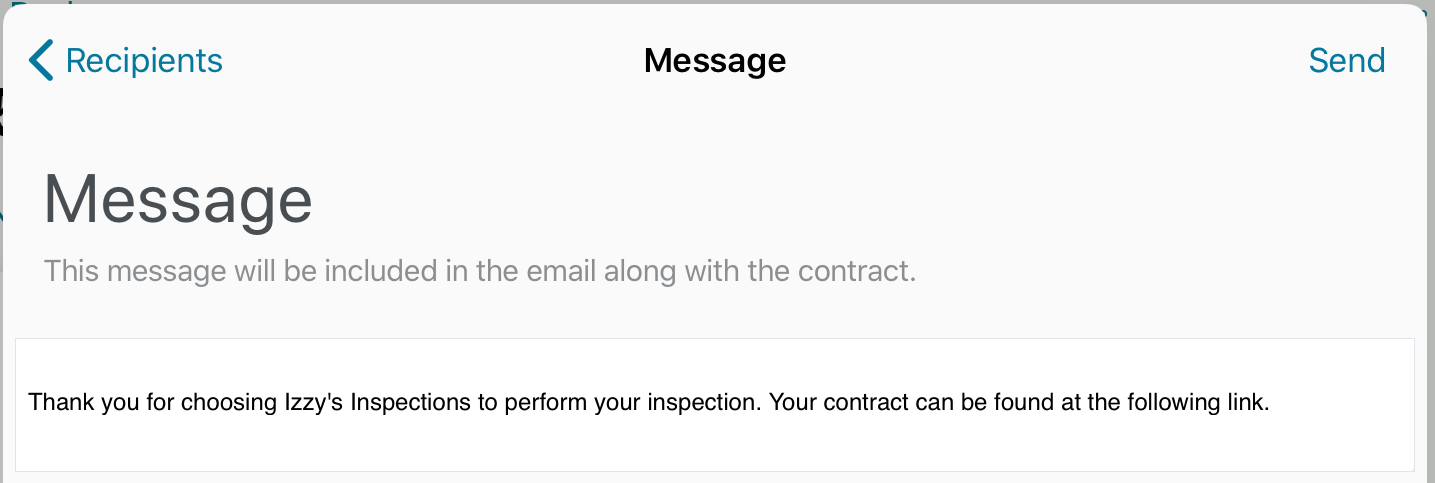
Finally, you'll be taken to a page where you can customize the message to be included in the email to the recipient. The tap on "Send" at the top right corner of the screen again.
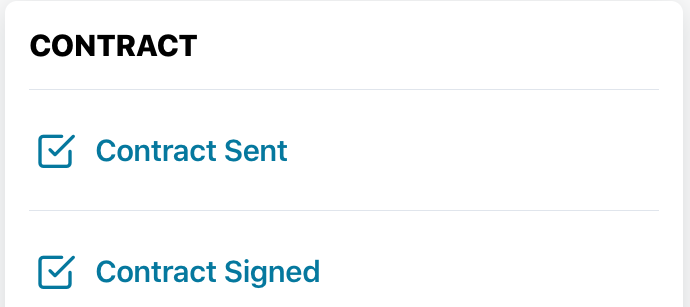
You’ll be taken back to the inspection overview page and you’ll see a new icon under contract indicating it has been sent, and a new greyed out row indicating it is not signed yet.
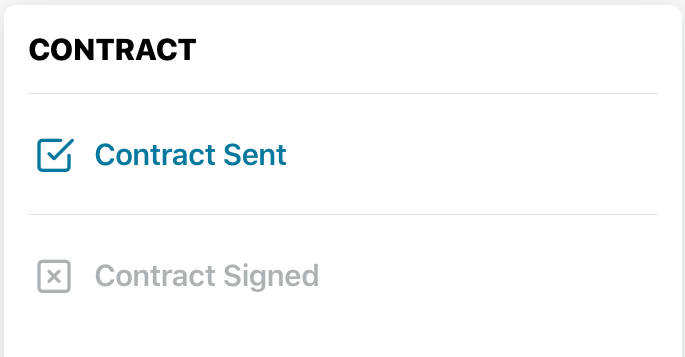
You'll know the contract has been signed when the "Contract Signed" line turns blue: