
This article will show you how you can add, modify, and delete item details in a template.
Details are a predetermined set of options you may use to document your inspection report.
Think of them as checkbox options, which will make it dead simple to fill out your reports. This is how they look like on a report (narratives are printed below):

The first thing we must do go to the Edit Mode in the template, and look for the category and subcategory where the item lives.
In this example, I'm looking for the Item 1 item, under Cat 1 --> Sub 1:
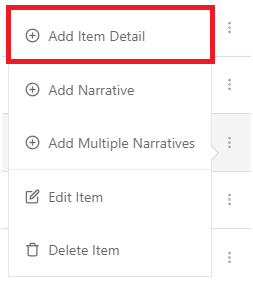
Once the item is found, let's click on the three dots on the right, next to the item, and then select Add Item Detail:
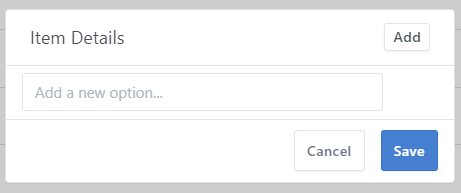
You will then see the available details from within that item. This is how an item with no details will look like:
WORKING WITH DETAILS
At this point, you can start entering the detail labels (descriptions) into the available fields. If more fields are necessary, click on Add. Each field represents one detail:
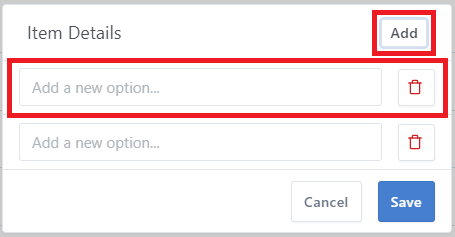
Now that we are on Edit Mode, you can modify details by typing into the detail field, or delete them, by clicking on the delete icon on the right:
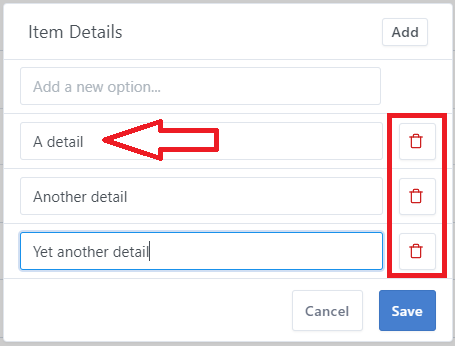
Once you enter all the details, don't forget to save your changes by clicking on Save.
Your details will then be available in your template for future inspections:

If you have any problems, please reach out to [email protected] with specifics. We'll be happy to help!