Log into the Inspector Nexus web application.
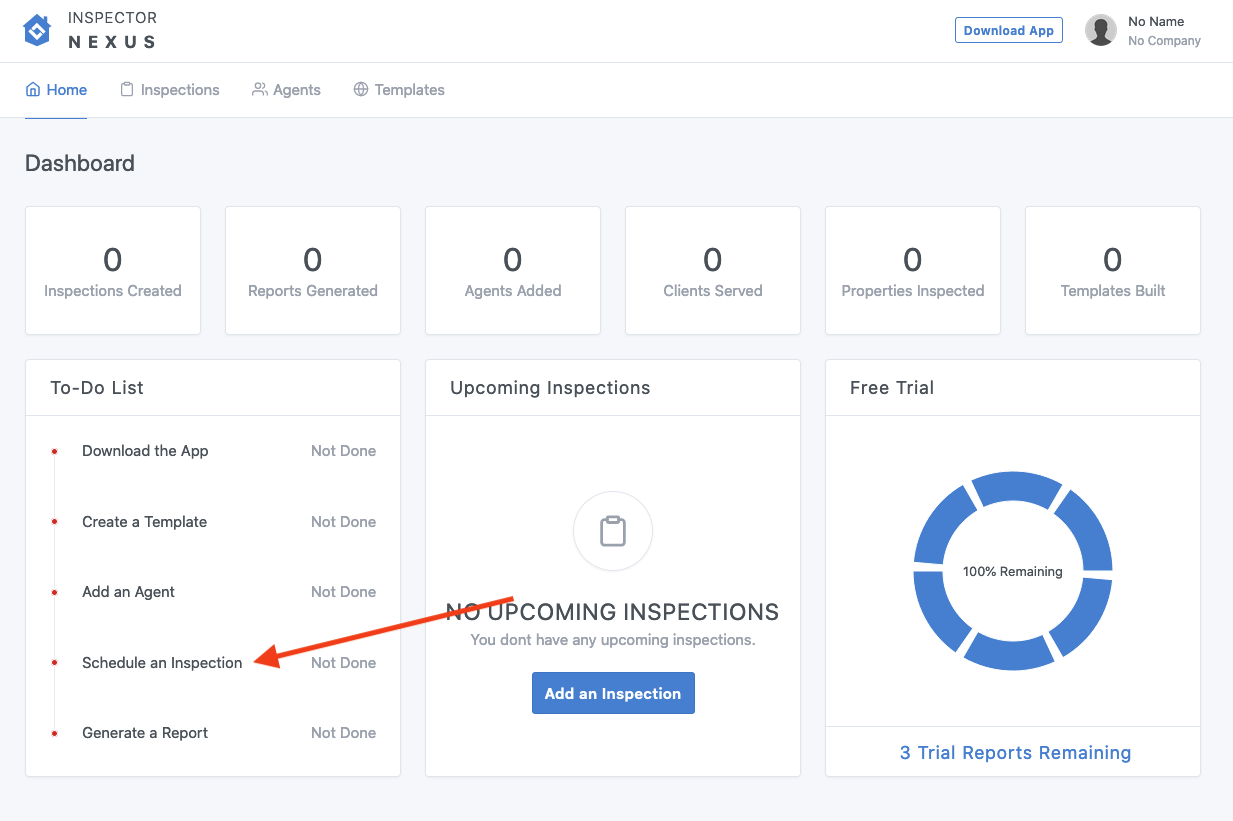
On the Home Screen, click on "Schedule an Inspection" under the To-DoList.

On the next screen, you will be asked to fill out the inspection details.
First, give the inspection a name. Something to help you identify the job.

Next, select a template for the inspection, by clicking on the template dropdown icon.

Select from the created templates. Here, we'll select My Template, which we have previously created.

Then click Next to move on to the next step.

At the next step, you will be asked to fill out the client's information.

You can fill it out now, or click Skip below to fill it out later.
Once you've filled out the client details, click Next to move on.

At the next step, you will be asked to fill out the property information.
You can fill it out now, or click Skip to fill it out later on.
Begin by filling out the Address Line 1 field.

If a matching property is found, you can click on one of the options to automatically fill out the remaining fields. Otherwise, you can fill out the remaining fields manually.

Once you've filled out the property details, click Next to move on.

At the final step, you will be asked to provide the buyer's agent, seller's agent, and the inspection date/time.
Begin by clicking the buyer's agent field to show the available agents.

You can select an agent from the list below, or type the agent's name to search available agents. We will select the agent we created earlier, John Doe.

Next, we will skip the seller's agent, and move on to the inspection start date/time. Click on the Inspection Date/Time field to begin.

You will be presented with a calendar and time selection boxes. Please fill them out and press Enter when finished.

Once all of the information has been filled out, click Save.

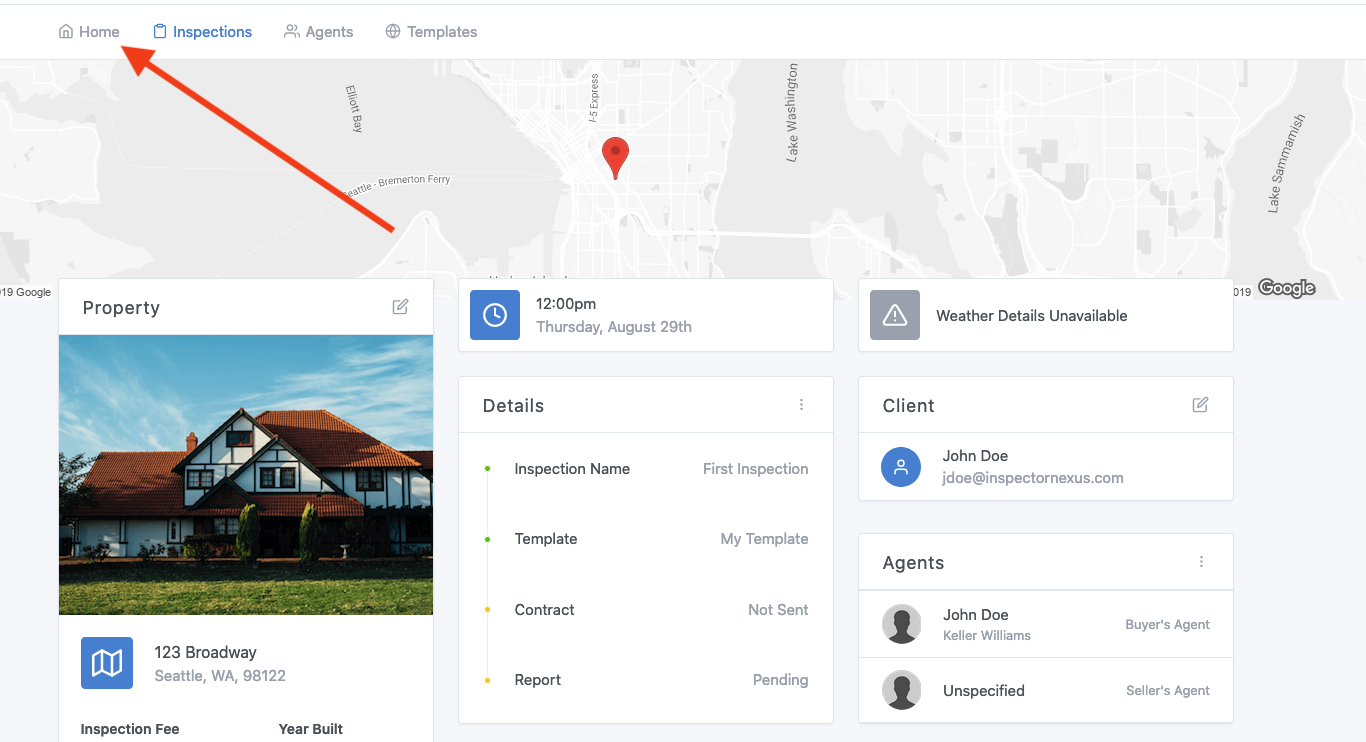
From here, you will be taken to the inspection editor. For more information on how to use the inspection editor, click here.
For now, go back to the To-Do List on the dashboard by clicking on the Home icon.

If you have any questions, please feel free to reach out to [email protected]